Assembling the frame
In addition to the guide below, you can also watch our assembly videos – find them here.
Important Before You Start
Before you start to assemble and erect your greenhouse, it is important to read the assembly instructions completely and familiarise yourself with the assembly procedure.
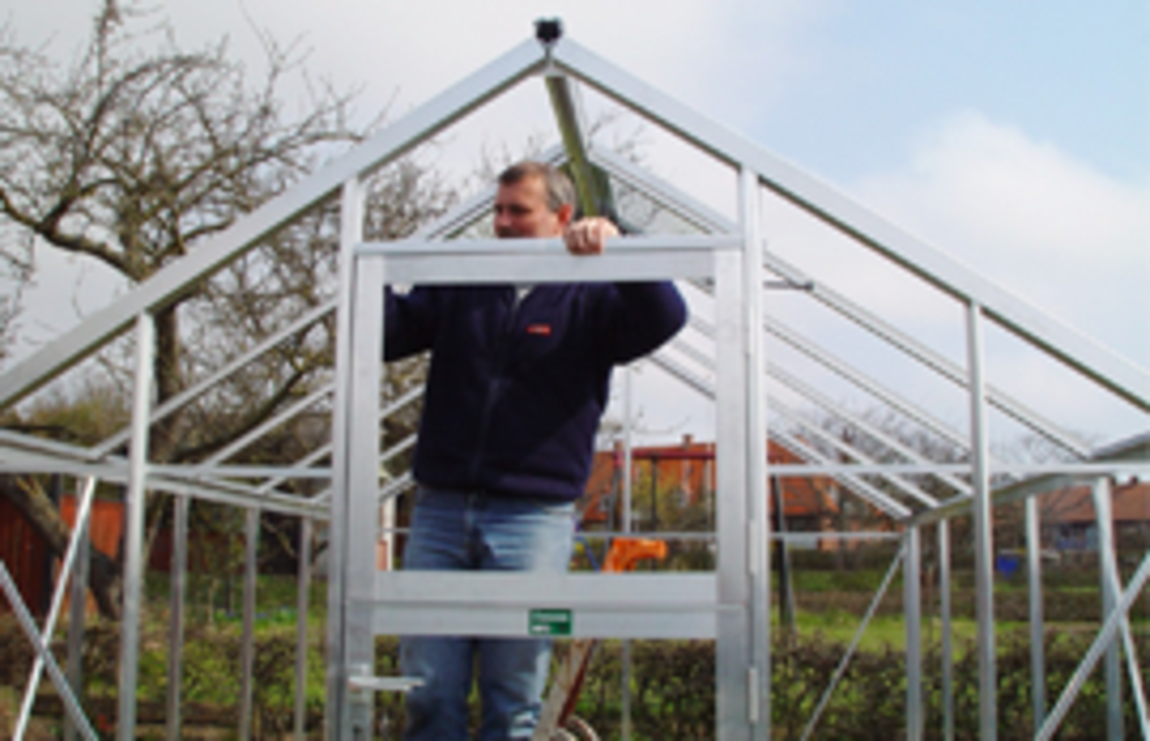
Although it is possible to assemble the greenhouse by yourself, two are better than one, especially when assembling the end and side sections.
For your specific greenhouse, please follow the installation instructions.
Step 1
Check the Packages
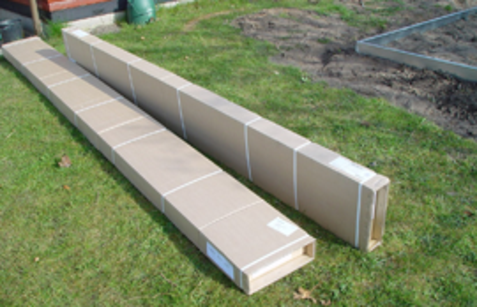
Before you unpack the greenhouse, make sure you received the model you ordered. The frames are packed in cardboard (one or more boxes).
Step 2
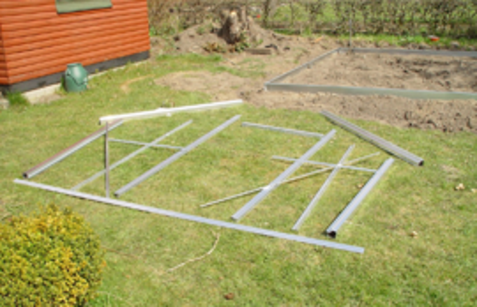
Get a General Idea of Which Frames Go Where
To get a general idea of where the frames go, lay them out before you begin to bolt them together.
After this, start to assemble the sections in the order specified in the instructions.
Step 3
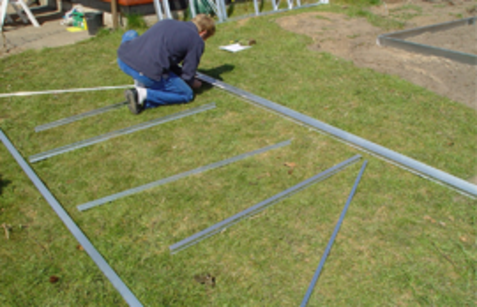
Assemble the Sides and Gable Sections
Assemble the sides and gable sections on a level surface. After assembling them, lift the sides and the gable sections onto the base and assemble as shown in the instructions.
Step 4
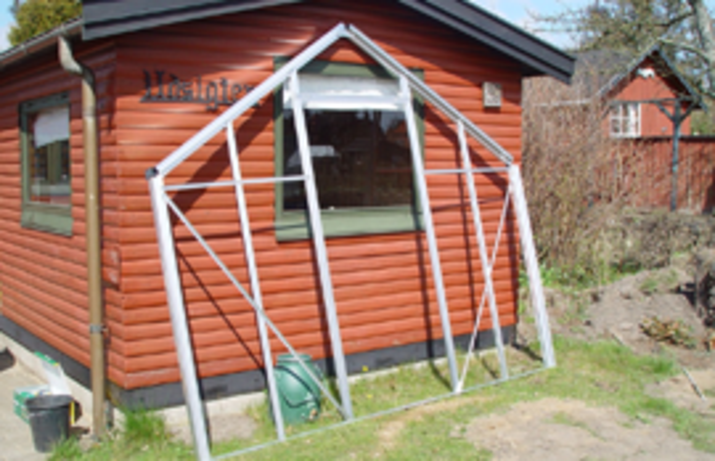
Move the Assembled End Sections out of the Way
Once the end sections are assembled, put them aside.
Step 5
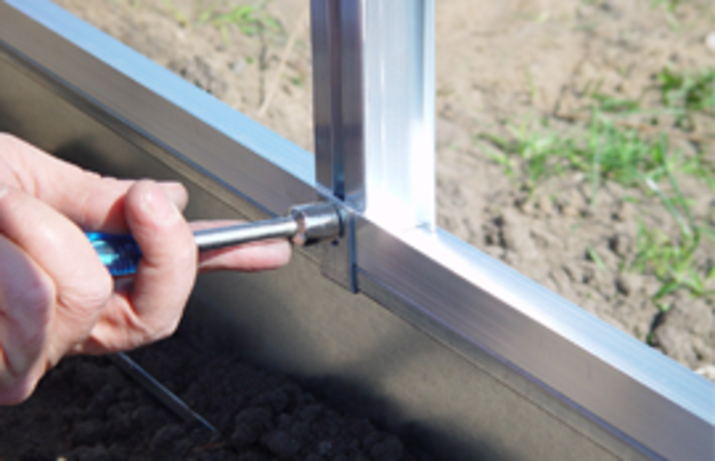
Attach the Assembled Frame to the Base
If you have purchased a steel Halls base, attach the assembled frame to this using the included J-clips. Slide the curved section of the J-clip underneath the base and attach the greenhouse as shown in the instructions. Note that some models may require additional fastening of the greenhouse.
To facilitate the assembly of sides with gables, it's a good idea to loosen the corner bolts on the gable sections to make it easier to adjust and slide the frame sections into position.
If you cast the base yourself, or are using a wooden base, attach the greenhouse with one bolt for each section of the bottom frame. Remember to contact your insurance company to find out what is covered if the casting is not done.
Step 6
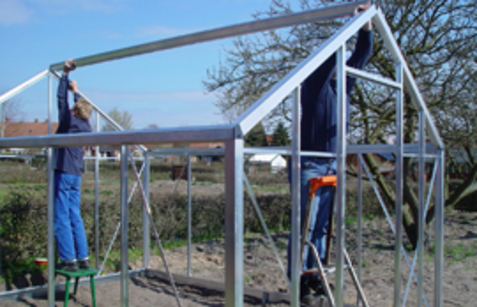
Attach the Ridge Bar
Attach the ridge bar.
Loosen the bolts at the top of the gable sections to make it possible to gently push the frames until the ridge bar is in place. Note that there may be a different roof solution for your greenhouse. If that's the case, follow the provided instructions.
Step 7
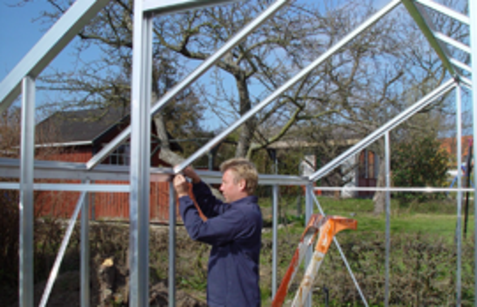
Attach the Roof Battens
Attach the roof battens to the ridge bar and gutter sections.
Remember to use extra bolts wherever opening windows are to be installed.
Step 8
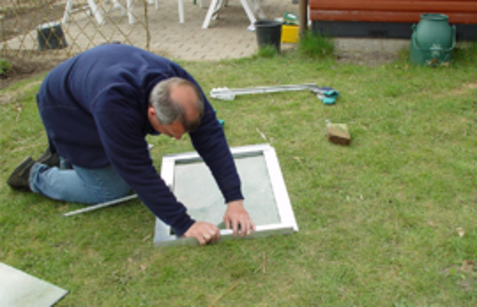
Assembling Windows
Now assemble the windows. The window profiles in Juliana models should be assembled around the glass/polycarbonate.
Step 9
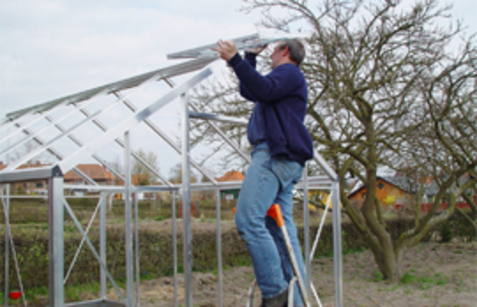
Slide Glazing Beads into Place
Slide the window’s hinge bead into the ridge bar from the end and slide it over to the section where you want it to be placed. The bead will slide more easily if you lubricate it with oil.
Step 10
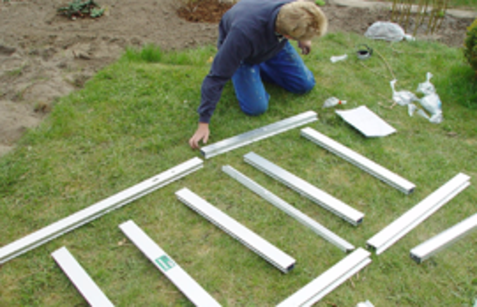
Assemble the Greenhouse Door
Now assemble the door.
Lay out the frames on the ground to see how the door looks before you assemble it.
For Juliana models, assemble the door around the glazing (glass/polycarbonate).
Step 11
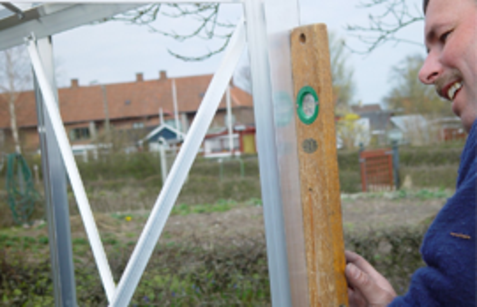
Double-check level & diagonal measurements
Before attaching the door/doors, it is important to make sure the greenhouse is plumb and level and that it is square by taking the diagonal measurements as well.
Transform Your Greenhouse Experience
Are you looking for fresh inspiration to transform your greenhouse life into a lush paradise? Let's explore new ideas and tips together that will make your green haven even more magical!
JULIANA GROUP
Juliana Group is a leading global supplier of quality residential greenhouses. Founded in 1963 by Mogens A. Stærmose in Odense, Denmark, the family-owned company is today owned by the third generation, Nikolaj Stærmose. The headquarters remains Odense-based with subsidiaries in the UK and Germany and exports to more than 20 countries.
’We help people grow’. That is why our brands Halls, and Juliana set the frame for experiences that are as natural as they are magical. Despite our long history, we’re future-focused and curious about how we can improve the sustainability of our greenhouses. Learn more about Juliana and find inspiration for life in the greenhouse in our inspirational universe.
